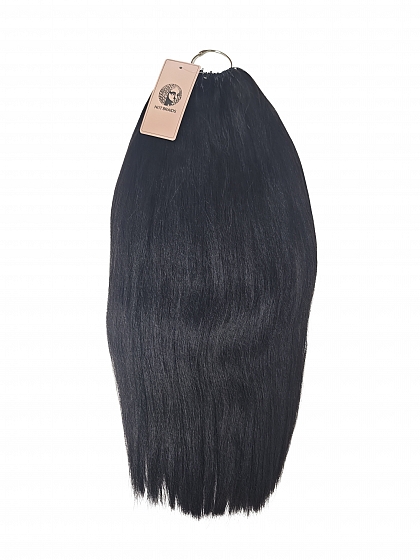
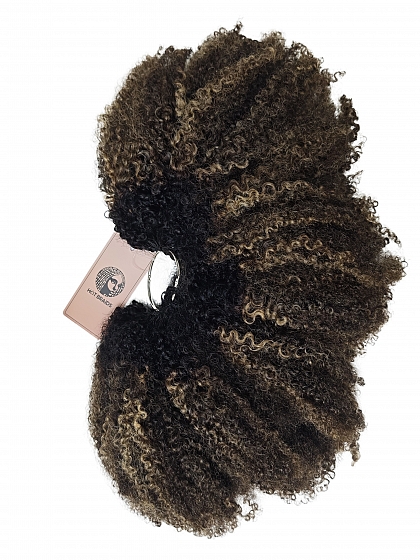
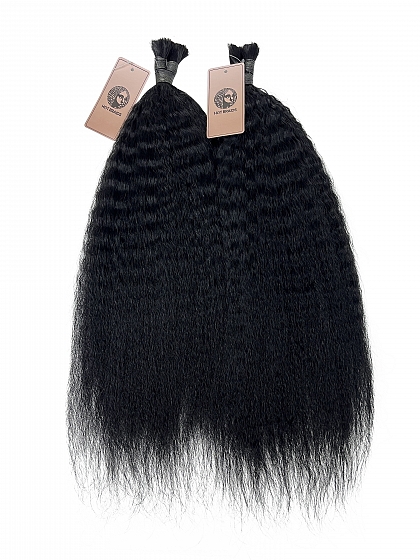
Hey there, soon-to-be bride! Every girl dreams of that perfect wedding - the magical ceremony, the stunning white gown, the flawless hairstyle. But if your wedding budget is tight,master these 18 easy, elegant and protective wedding braid hairstyles will have you shining all day long effortlessly. Whether you're greeting guests with morning mimosas, saying "I do" at the altar, or dancing the night away at the after-party, these versatile braids are your secret weapon to looking absolutely fabulous from your first "hello" to your final dance.You can enhance any of these styles with your natural hair or investing in high-quality crochet hair and braiding hair extensions.
Who says you need to break the bank to look like a million bucks? Your gorgeous, budget-friendly wedding hair is just a braid away!
1.Butterfly Halo Braid

How to create a butterfly halo braid with natural hair step by step?
Step 1: Part Your Hair
- Create a horizenal part from your forehead down to the nape of your neck to divide your hair into two equal sections: front and back.
- Temporarily tie away the back hair to keep it separate.
Step 2: Create the Dutch Braid in Front
- Start with the front section near one ear. Divide it into three strands and begin a Dutch braid by crossing the strands under the middle piece instead of over.
- Continue braiding along your hairline, across your forehead.
- As you braid, gradually incorporate more hair from the scalp into each strand before crossing it under.
- When you reach the opposite side, temporarily clip the braid. Release the back section and continue braiding across the nape of your neck until you return to the starting point.
- Finish braiding the remaining length and secure the end with a hair tie.
Step 3: Form the Halo and Secure
- Wrap the long braid around your head like a crown, ensuring the tail end is tucked,hidden and secured with bobby pins.
Step 4: Create the Butterfly Effect
- Gently pull apart the loops of the Dutch braid sections to fluff and loosen them, creating the soft butterfly braid effect.
How to create a butterfly halo braid with braiding hair step by step?
- Step 1: Start with straightened hair. Tie your hair into a sleek low ponytail at the back of your head.
- Step 2: Fold your braiding hair in half. Attach a small rubber band at the fold and secure it onto the base of your natural ponytail.
- Step 3: Mix your natural hair with the extensions. Divide the combined hair into three equal strands for braiding.
- Step 4: Create the braid, gradually incorporating the braiding hair to achieve your desired volume and length.
- Step 5: Secure the end of the braid with a hair tie.
- Step 6: Fluff out the braid to create the butterfly effect by gently pulling the sections loose, working from the end of the braid up to the top.
- Step 7: Wrap the braid around your head, across your forehead, and use bobby pins to secure it in place.
2.High Ponytail Accented with Art Styled Cornrows

How to create ponytail with art styled cornrows step by step using braiding hair?
- Step 1.Create the ponytail base:Wash and blow-dry your hair. Gather it into a high, tight ponytail.
- Step 2.Attach braiding hair:Attach kinky straight braiding hair to the base of your ponytail to add length and thickness.
- Step 3.Shape and secure the design artistic braid
- Use a small strand of bulk braiding hair to create a single cornrow,cut the end when you reach the length you want.
- Wrap and roll the small braid to form your desired artistic shape shape and use a needle and thread to sew it securely onto your forehead.
3.Koroba Braids

How to create koroba braids step by step with braiding hair?
- Step 1: Part Your Hair: Create a "wheel" parting from the crown, dividing your entire head into sections based on your desired braid thickness(you can also use the normal block parting method).
- Step 2: Braid & Seal: For each section, braid your natural hair together with the braiding hair until you reach the desired length. Seal the ends with gel.
- Step 3: Form the Circular karoba shape: Wrap the braid around itself to form a flat, circular coil, Position it where you want it to frame your face.
- Step 4: Secure: Use a needle and thread to discreetly stitch the base of each circular braid to secure it in place.
4.Half-Up Headband Braid Hairstyle


- Step 1: Create a middle part in your natural hair.
- Step 2: Select a section of hair from the front of each side, creating two "half" braids. Secure the ends of each braid with small elastics.
- Step 3: Criss-cross the two braids across the top of your head, like a headband, along your forehead.
- Step 4: Tuck the ends of the braids underneath the hair at the back of your head and secure them firmly with bobby pins.
- Pro Tip: If your natural hair is too short, use a wig net and crochet braiding hair to create a fuller and longer base for this style, as shared in the blog:Your Easy Guide to Master Express Crochet Braid Method
5.Side Twist Low Updo

6.Half Pull Through Braid Hairstyle

To create this half pull-through braid:
-
Start near your ear. Pick three small strands of natural hair from the sides.
-
Gently twist each of the three strands.
-
Tie these three twisted strands together once to secure them.
-
Continue creating the braid using the standard pull-through method we shared previously.
7.Double Dutch Braids Low Bun

8.Half up Crown Braid


9.Easy Bridal Braid Updo

To create this Easy Bridal Braid Updo:
- Step 1: Create a Low PonytailGather all of your natural hair into a low ponytail and secure it with a hair tie.
- Step 2: Braid the ponytail(attach braiding hair to add length & thickness if necessary)
- Divide the ponytail into three equal sections. Braid a standard three-strand braid all the way to the ends and secure the tip with a small elastic.
- Step 3: Form the center braid sectionTake the middle section of the braid and roll it upwards, coiling it into a bun at the base of your ponytail. Use bobby pins to secure it firmly to your head.
- Step 4: Form the left braid section:Take the left section of the braid, wrap it across the center bun towards the right side, and tuck the end under. Secure it firmly with bobby pins.
- Step 5: Form the right section:Finally, take the right section of the braid, wrap it across the bun towards the left side, tucking the end under. Secure it with bobby pins to complete the updo.
10.Criss-Cross Twist Loop Updo


11.Chic Sectioned Braid Updo

12.Waterfall Braid


13.Textured Bubble Braid Ponytail

14.Twisted High Bun with Side Twisted Bangs

15.Fishtail Braid Ponytail


16.Pull Through Braid Ponytail


17.Side Pull Through Braid Ponytail

18.Cornrows with Loose Braid Ponytail

Reach out to us at [email protected] with any fresh braiding hair tips you've discovered or questions about hair selection. Enjoy your braiding and twisting journey, and keep shining!


 Lost in-transit